Kitchen Remodel Service 30th St, San Diego, CA

This kitchen remodel service in San Diego, CA, by Falcon Builders Group, worked to bring comfort and style back into a tired space. The kitchen and dining area had seen better days. With the old floors removed, the bare concrete showed a kitchen waiting for new life. Our goal was simple: install new luxury vinyl plank flooring that brightens the room, connects the spaces, and stands up to everyday life. Want to see how we brought this upgrade to life and the care behind the work? The photos tell the story from start to finish.
Kitchen Remodel Project on 30th St, San Diego, CA
Let’s walk through each step of this full kitchen flooring installation.
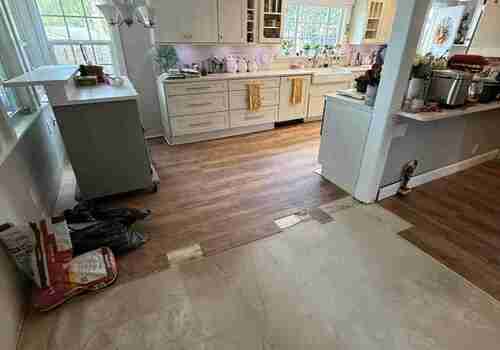
1. Getting the Space Ready for New Life
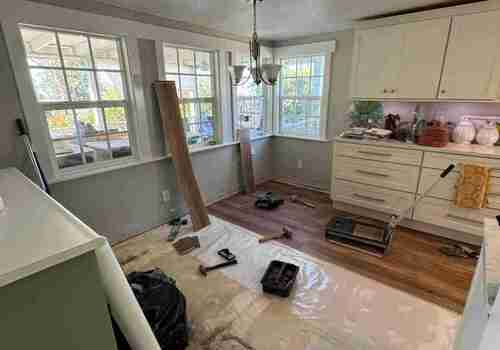
A good flooring project starts with careful prep. We cleared the kitchen and dining area and checked the exposed concrete to make sure it could support the new planks. This step matters because a clean, steady base helps the flooring lock in place.
We removed debris, checked for moisture, and prepared the surface so the installation could move forward with confidence. You can see this stage in the “before” photos, where the bare concrete fills the room.
2. Protecting the Floor with a Moisture Barrier
With the surface ready, we rolled out a moisture barrier across the kitchen and dining area. This layer matters because concrete releases moisture, and LVP flooring needs a dry, protected base to last longer. The clear underlayment acts as a shield that keeps the floor stable and adds extra comfort under your feet.
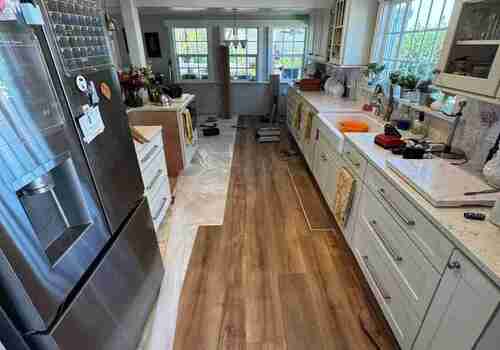
3. Setting the New LVP Flooring in Place
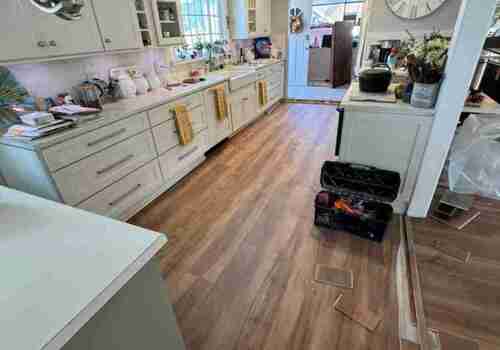
Now the remodel took shape. We placed the first row of luxury vinyl planks along the longest wall to anchor the layout. From there, we cut and fitted each plank, tapping them into position until they locked in tightly. Then, we worked our way across both rooms to create a seamless flow.
Can you see how the warm tones of the flooring added a welcoming feel and matched the bright cabinets and natural light?

4. Finishing the Edges for a Clean, Connected Look
With the flooring set, we added transition pieces to connect the LVP to the tile in the next room. These details help the space look polished and prevent anyone from tripping. After that, we put the trim back in place and cleaned the kitchen so the new flooring could take center stage.
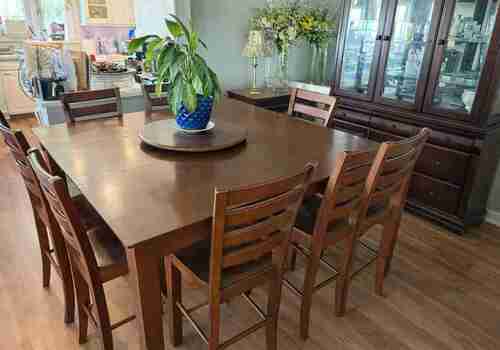
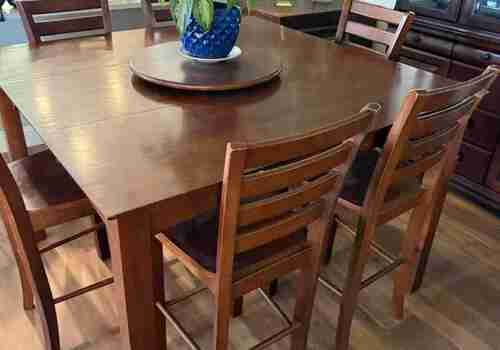
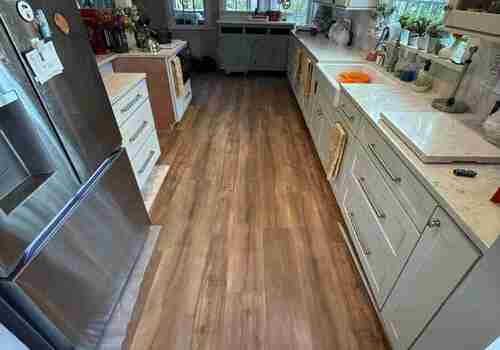
5. Setting the Room Back in Place
With the installation wrapped up, we moved the dining table and chairs back in place. The transformation in the “after” photos speaks for itself. The kitchen feels brighter, flows better, and offers a space where the homeowner can enjoy cooking and dining each day.
The Client's Reaction to the New Space
The homeowner felt excited when they saw the finished space. They loved the clean look and the smooth flow that the new flooring created. Most of all, they felt proud to have a kitchen and dining area that finally matched the warm, modern feel they wanted for their home.
Kitchen Renovation Near Me: Bring New Life to Your Space
Ready to update your kitchen but not sure where to start? Wondering what a kitchen flooring remodel cost looks like or how long the process takes? Falcon Builders Group is a licensed team serving home remodeling San Diego homeowners who want clear answers and real results.
Call (858) 869-0150 to get a quote and explore the best options for your kitchen remodel. Let’s create a space that feels brighter, cleaner, and easier to enjoy every day.
Gallery


Recent Posts
-

Kitchen Remodel San Diego 29th St, San Diego, CA
Apr 13, 2026 -
Kitchen Remodel San Diego Hemlock St, San Diego, CA
Apr 09, 2026 -

Kitchen Remodeling Services Lowell St, San Diego, CA
Mar 11, 2026 -

Expert Home Remodeling Pembroke Dr, San Diego, CA
Mar 03, 2026 -

Outdoor Remodeling S 36th St, San Diego, CA
Feb 19, 2026
